

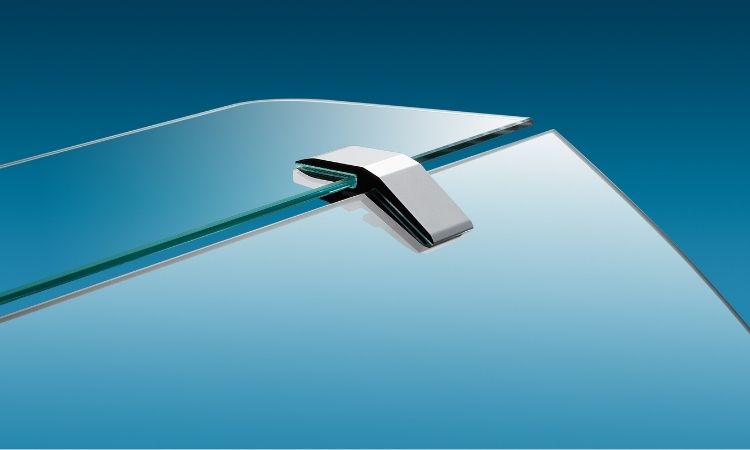
You have an aquarium but no aquarium hood; you start searching for a hood. Soon you realize that the cost can vary from $15-50 or even higher if your aquarium is large for a glass hood.
This may not be a problem if you have one aquarium; the resulting cost will skyrocket if you have five or even 10. Maybe you are putting an aquarium together with individual pieces of equipment and have a budget to continue reading.
This simple-to-make hood is practical and costs around $8.50 per aquarium. This Aquarium Hood DIY will save you if you have multiple aquariums.
AQUARIUM HOOD-DIY MATERIALS
This list for the aquarium hood DIY is surprisingly short. There are additional items that you can use. This is the list that I used to supply hoods for my 11 aquariums:
- 4 x 8 Lexan poly-carbonate [$80] (this size sheet covered 3- 29 gal, 6- 20 gal, 1- 55 gal, and 1- 40 gal aquariums)
- Twist ties (the wider, the better)
- 2” Ducting Tape [$13 for 50 yd. roll] (any form of long term holding tape will work, this is what I had available)
OPTIONAL
- End caps to seal polycarbonate for water entering channels from sides
- Hot glue (I tried this for my first choice to affix the ties, some did not hold for long. Maybe I don’t know how to use it.)
There you have it; this is the long list of materials to create your new aquarium hood. I used ties that came with purchased products, so there was no cost associated with the twist ties.
As you can see, the cost is relatively cheap. There are alternative options available for a hood while still using the same method. There are other sized poly-carbonate sheets to purchase if you have fewer aquariums needing a hood.
TOOLS
The tools needed are determined by how you plan to cut your poly-carbonate. There are cheaper options that will take longer. The tools I list here are used to get clean, accurate cuts with ease.
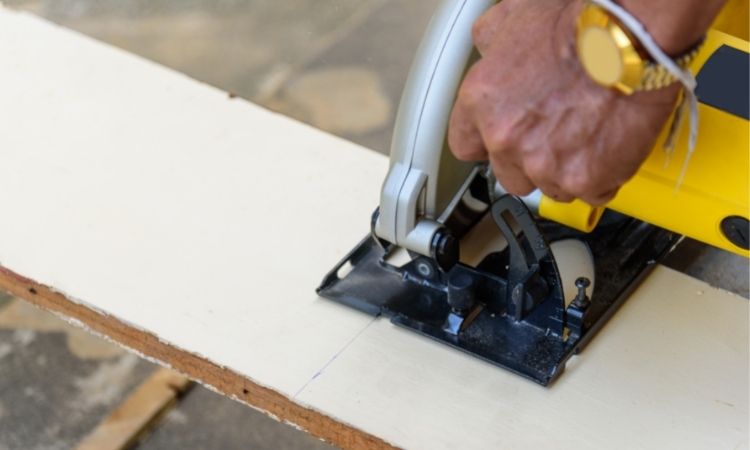
- Jigsaw with a fine-tooth blade (hacksaw will work but takes longer and doesn’t provide as straight of a cut)
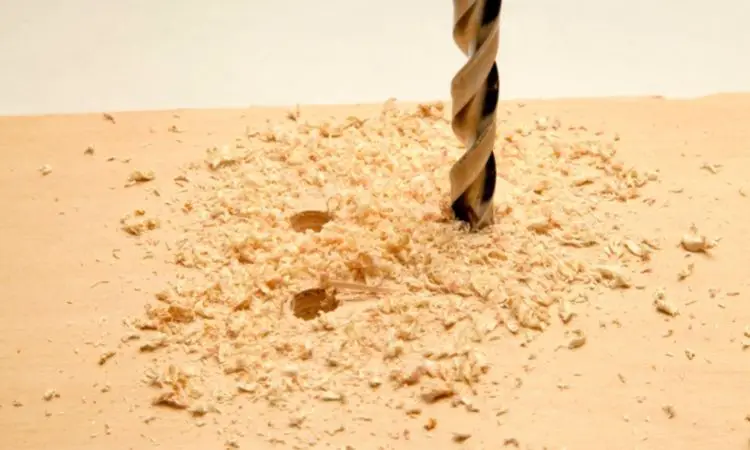
- Cordless drill
- ½” drill bit
- Scissors
- Tape measure
- Drywall square (for straight lines)
- Sharpie
STEP 1: CUTTING SHEET
To work with no overlap on top, you need to have an aquarium with a rim. The first step is to measure the opening you are looking to cover, the length and width (or depth, however you want to look at it). There is a lip on the inside of the rim, measure from one side to the other.
Tip: take off 1/16th of an inch to ensure the lid will fit.
Next, measure the same way from front to back again, taking off 1/16th of an inch. When using the sharpie to mark your lines, account for the thickness of the sharpie and know where to cut on the marking line. Using your jigsaw cut the cut along your straight lines.
Tip: if cutting multiple hoods, study the poly-carbonate sheet to get the maximum hood from each sheet.
Test fitting on the aquarium to ensure proper fit; once the hood fits, it’s time to cut to allow the hood to open.
- Hood Corner Cut (for wires & airline)

- Hood Middle Cut (for wires & airlines) I cut a triangle out on each back corner on each back corner so cords or airlines would fit through without affecting the hood resting securely on the tank’s lip.

STEP 2: CUTTING HOOD LID
When cutting the lid portion out, you want to determine how far back from the front you want it to open. This depth is determined by many factors, including space available overhead (is it on a bottom shelf), lighting above (as I discussed the mistake I made with my DIY lights), or do you need more room for cleaning.
If space allows, I suggest at least ¼ the length to the back of the tank. This allows enough room still to clean the back of the aquarium with a siphon.
Measure the desired distance needed and cut just like you did in step one. Straight is key here as it will be the point the lid hinges. If it is far from straight, it will affect the opening and closing.
STEP 3: HANDLE
I elected to drill two holes that connected for my handle as this did not increase my cost. Alternate options are double-sided tape hanging hooks 3M, hot gluing some item on, or cutting a section from the front of the hood.
These options are self-explanatory, but I will cover how I did it. Measure to find the center point of your hood lid (the front section of the hood) and drill 2- half-inch holes connecting to your opening.
This will allow for your finger to fit through to lift the lid. If smaller or larger holes are desired, use the appropriately sized drill bits.
Tip: to ensure food or algae doesn’t get into your cover, silicon or hot glue inside holes on poly-carbonate.
I learned this when I was gone on business, and my family was feeding the fish. They did not open lids to feed; they feed through the holes cut out. Food getting caught in them and with moisture started to mold. Just glad they feed the fish for me.
STEP 4: ATTACHING HINGES
A short story of how I got to what I use for hinges. I planned to use small stainless hinges so my lids would open smoothly. I went to my local hardware store to get them but then realized how much it would cost, so I didn’t purchase any that day.
I was doing a water change and saw all these twist ties (just like the ones on bread bags but bigger) and thought, would those work? The ones I had were too long, so I cut a few to size, placed them onto my hood, and thought about attaching them.
The first thing that came to mind was hot glue. It’s clean and should hold. This worked for a while but soon, each connection where the hot glue was failed.
I had on hand some ducting tape, so I ripped a strip off and placed it over it until I had time to get the hot glue gun out again. This is what I use on all of my hoods now.
I installed two hinges 1/3rd of the way in on each end on the length of the hood on larger tanks. On my larger 29 gallons and up aquariums, I placed three hinges, one in the center and 2- 1/3rd of the way from the end. The more you put, the better it will hold when open.
To install the hinges, cut the twist ties (the thicker the wire inside the tie, the better) to 3-inch lengths using scissors or snips. Straighten the ties out as flat as possible.
With the hood and lid placed over your aquarium, lay the strip over the gap 1 ½ inches on each side. Tear or cut a piece of 2-inch ducting tape, strip off the backing, place it on the lid over the twist tie, and repeat on the hood side.
These have been very effective, but if water gets between the poly-carbonate and the tape, you will need to replace the tape. But at about 2 cents per strip, it is cheap if you have a 50 yd roll. Occasionally one will rip and need replacing.
SUMMARY
If you own multiple aquariums or want an alternative method, the aquarium hood DIY method works effectively. This is a cheap alternative to purchasing a glass or even a plastic hood for your aquarium. And if you like DIY projects, it doesn’t get any better.
Three items are all that need purchasing if you already have DIY tools. I hope you’ve found this informative and worthwhile to improve your fish-keeping hobby. If you liked this post, please share it with all your friend.