
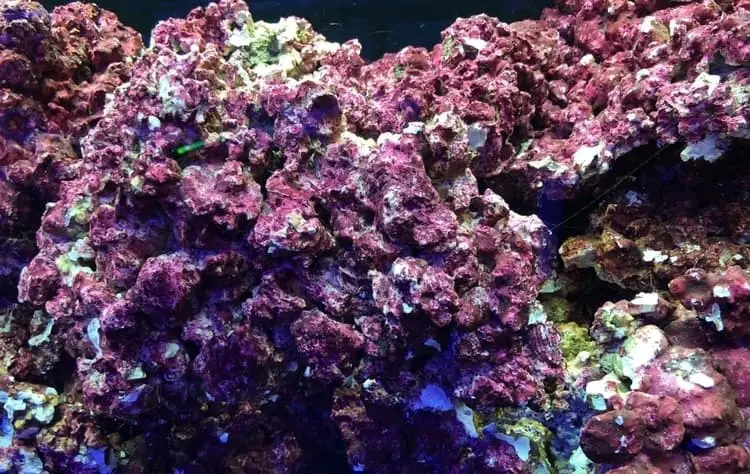
The process of curing live rock may be long and tedious, but don’t let that intimidate you into thinking it’s a complicated process, because as most aquarium hobbyists would tell you, it’s not.
So, roll your sleeves up and get ready to cure that live rock that will make your fish tank healthy and beautiful.
Just a few things to keep in mind, whether you ordered a pre-cured live rock or not, it’s wise not to introduce any live rock into an established aquarium without properly curing it first.
In its simplest definition, Curing means ridding your live rock of dead and decaying marine organisms that produce ammonia, which affects the quality of your water and is harmful to fish.
Alright! So, here are the things you’ll need to cure your live rock:
– Water pumps/ Powerhead pumps. To oxygenate the water and to produce constant circulation in the water.
– Water heater. To speed up the die-back process. The ideal temperature is 80 degrees Fahrenheit.
– Nitrate and Ammonia Test Kits. To test the water for nitrate and ammonia.
You will also need a plastic container to put the rock in. If you’re setting up a new aquarium, it’s preferable to use your new aquarium instead of a separate container.
LIVE ROCK CURING PROCESS
1. Put the live rock in the container/new aquarium.
2. In a separate container, make a saltwater mixture. To make salt water, mix distilled water with salt. The general ratio for a saltwater mixture is ½ cup of salt for every gallon of water.
3. Pour the salt water into your live rock container until the rock is completely submerged.
4. Heat your water and set the heater to 80 degrees Fahrenheit.
5. Set the water pump up in your container.
6. Let the rock sit in the water. To keep algae from growing, keep it in the dark or a dim-lit area.
7. Change the water twice a week and clean the rock by lightly scrubbing off loose debris or organic matter. If you’re curing in an aquarium, be sure to clean the aquarium too.
8. Test the nitrate and ammonia level for every water change. You will know that your live rock is cured when ammonia and nitrate levels are zero.
CURING LIVE ROCK IN A NEW AQUARIUM
When setting up a new aquarium and curing your live rock in that aquarium, make sure that you don’t add any aquarium sand or anything else until the curing is complete.
Once the live rock is cured, you should also make a 50% water change in your aquarium and remove any debris on the bottom of the aquarium. Let the cured rock sit in the aquarium for one day and then test for pH level. The ideal pH level is 8.1- 8.4.
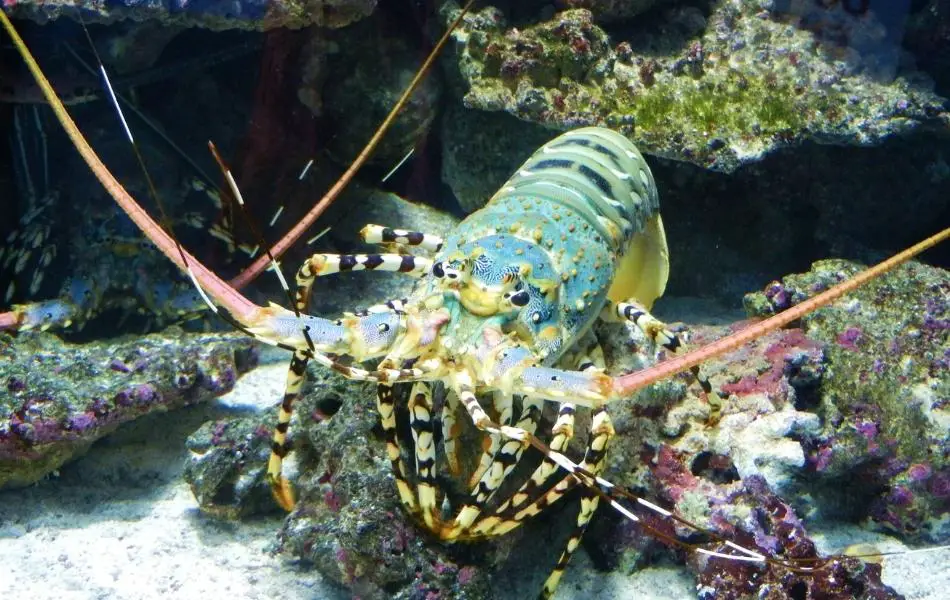
It is normal to see worms, snails, crab, and shrimps appearing in your container during the curing process. Just be sure to remove them, and you’ll be fine.
The whole process may take up to three weeks but curing your live rock properly is worth all the effort and time you will put into it. Then, when you have an adequately cured live rock, you can be confident that you’re adding a safe and healthy live rock into your aquarium.